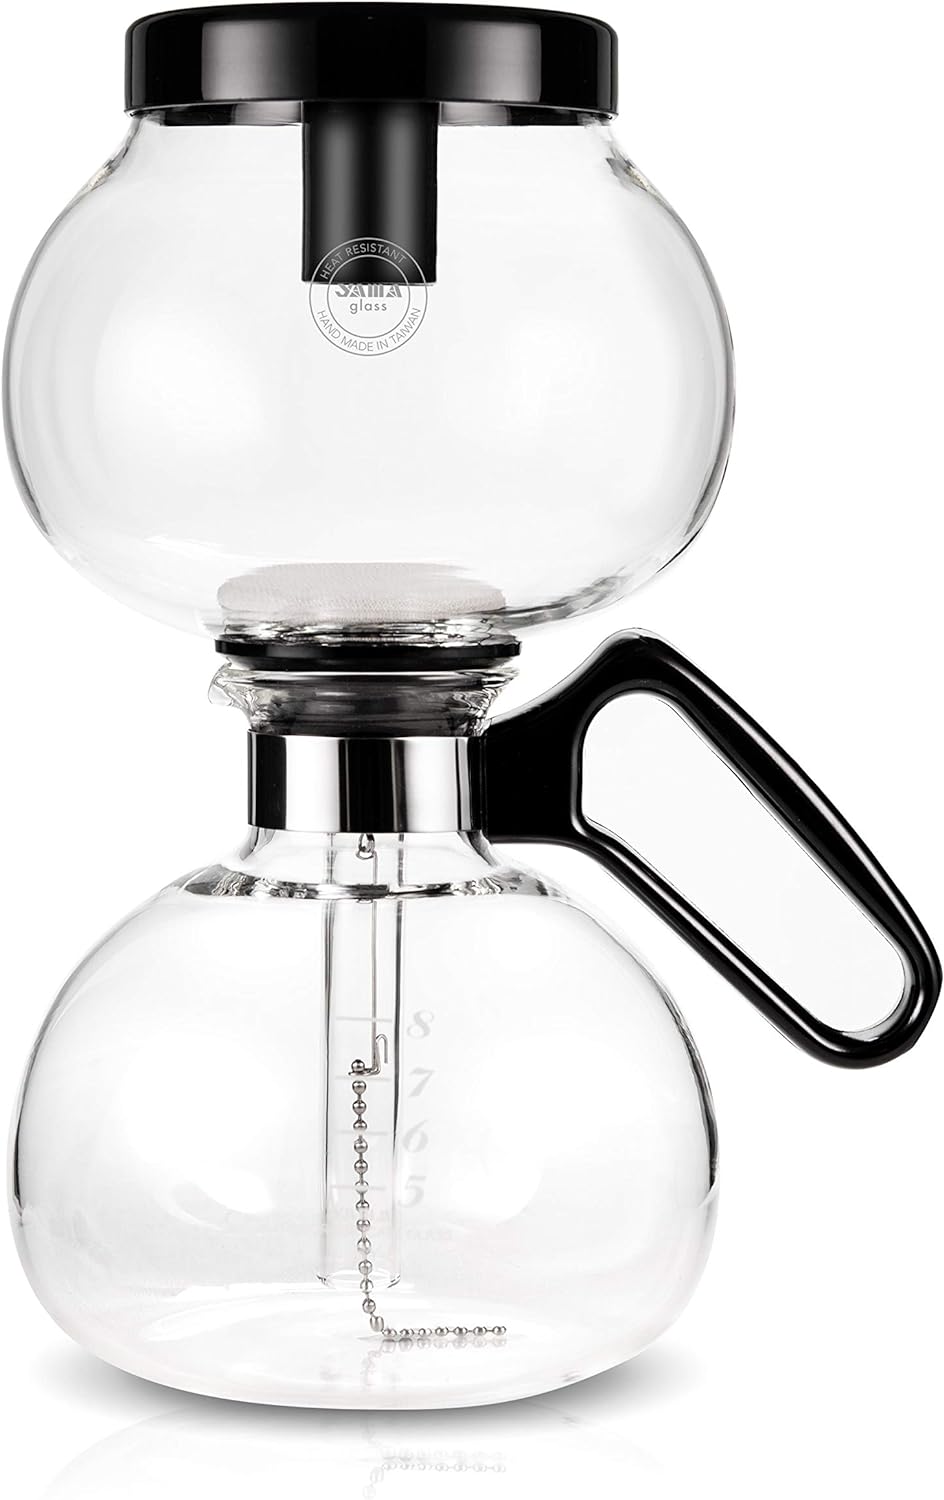
8-Cup Stovetop Siphon Coffee Maker, 24 Oz Vacuum Brew, Heat-Resistant Borosilicate Glass
$ 23.47
If you must have hot coffee from an automatic brewer, and don’t care to microwave a cup of last night’s brew, no need to read further.Five stars, because it does what it’s supposed to do, and does it well.I’ve read many negative reviews based on the product arriving broken or missing parts. This did not happen here.Careful packaging, nothing broken – check.Carafe (bottom) with handle – check.Brewing chamber with good rubber seal – check.Filter contraption, one filter already mounted one additional filter in plastic bag – check.Wire “grid” (really a piece of wire bent in a zigzag, similar to the ones for the Chemex product) for use on electric stoves – check.Plastic “lid” or base to hold the brewing chamber (right side up AND upside down) – check.Long-handle measuring spoon – check.The following should help in making correct use of this product and avoiding pitfalls:1. ALWAYS boil your water separately, for two reasons: First, the less time your carafe (bottom) has to spend on a flame or electric stove element, the longer it will live, the fewer the chances that it will scorch and break. Second, the quality of the brew will be much better – if you try to boil water in the carafe, some COLD water will seep into the coffee grounds, which will result in poor-tasting coffee.2. How much water? I’m using the 40-ounce product. The carafe is labelled with tick-marks indicating a maximum of 8 cups – this deserves some attention: The official measurement is 1 cup = 8 ounces. If you do the math, 40 ounces is only 5 cups. So, when the manufacturer says 8 cups, they mean 8 “traditional” coffee cups, not the mugs we’re used to today. Their “cup” would only be 5 ounces. My coffee mugs are extra-tall, I get about 3 nice full mugs out of the 40 ounce carafe.Use the carafe to measure the amount of water you will boil. I fill mine to about 1-inch above the 8-cup mark, since some of that water is going to be lost to steam while you boil it first, and some will be lost in the coffee grounds.3. While the water is busy reaching its boiling point on the stove, prepare the brewing section (upper container with the long glass tube). Put the filter in it, pull on the spring and hook it up to the bottom edge of the tube, set it on the base right-side up – the round base has a short plastic tube in the middle, that accepts the bottom of the brewing chamber’s glass tube and holds it securely, with the chain/hook that hold the filter tight against the chamber’s bottom.If you are a purist who must grind the coffee only seconds before brewing, you might want to wait until the water boils before you start grinding.4. How should you grind your coffee? I grind it to slightly finer than I would use in a drip coffee maker. Your mileage may vary. There is a bit of a learning curve here.5. How much coffee? The instructions read “one heaping spoon per cup” – so initially I used 8 spoons, and you can use your own judgement as to exactly what “heaping” means. For me, it resulted in a delicious cup of coffee, but much too strong. I ended up reducing it to 4 “very heaping” spoons – each of us will have individual taste for his/her coffee, so you probably will experiment.6. Once the water boils, DO NOT turn off the stove, BUT REDUCE THE HEAT to medium, or medium-high. Again, stoves vary so much that you will need to experiment. Put the carafe on a ceramic trivet, because it will absorb the heat from the carafe and prevent it from cracking, if it was sitting on a cold surface. Pour the boiled water in the carafe (I use a plastic funnel), up to 1/2-inch above the 8-cup mark, because some of the water will be lost to the coffee grinds at the end of the process. If you’ve boiled more water than you need, so what? Discard it. Don’t try to over-fill too much.7. As quickly as you can without dropping or breaking anything, put the “wire grid” on the stove if you use an electric stove, otherwise don’t bother with it. Insert the brewing chamber’s glass tube in the water, and lock the rubber seal in the carafe’s mouth. Then carefully carry the whole assembly (by the handle) and put it on the stove, MAKING SURE YOU HAVE REDUCED the heat to medium or medium-high.8. Now, you must watch the process. You will see the water level in the carafe go down, and the water going up into the brewing chamber and mix with your coffee grounds. Wait until the chamber is about half-full, and give it a few good stirs. Be careful not to hit it too hard with a metal spoon – I use a bamboo stir-stick (also available here on Amazon).9. When the water level in the carafe reaches the bottom of the glass tube (about 1/2-inch from the bottom of the carafe), you will see some bubbling in the brewing chamber (top), and some steam and water going up and down in the tube. Do not turn off the stove yet, do not remove the assembly from the stove yet. This is safe, because there is still a small amount of water in the carafe, AND because you have REDUCED the heat to medium or medium-high. You did reduce it, right? Start timing – no need for a stopwatch, the clock on the stove (if you have one) is good enough. This is where the bulk of the brewing takes place. Give the coffee in the brewing chamber a few good stirs. I leave the whole assembly on the stove for about 2 to 2.5 minutes. Again, your mileage may vary, experiment. Don’t worry too much if you see the small amount of water at the bottom of the carafe bubbling (you probably won’t), because remember, there is now a moderate vacuum in the carafe, and water will boil at a lower temperature in a vacuum.10, Remove the whole assembly from the stove, put it back on your trivet. Now, just watch. The coffee should begin to pour down the glass tube and fill the carafe. Simple gravity draws the coffee back down, but don’t forget, there is also a mild vacuum in the carafe, which helps. At some point, you may notice some bubbling activity in the carafe – where does it come from? The carafe is no longer on the stove, no heat acting on it, right? That’s the vacuum being filled with air drawn through the coffee grounds in the upper chamber. If you see that, you’ve done everything right. If not, as long as you see the coffee filling the carafe to the target mark (in this case, 8 cups or maybe just a tad more), you’re done. Pour yourself a cup and enjoy.11. Last, cleaning up the filter. I use a “heaping” teaspoon of OxyClean in half a tall coffee mug’s worth of water, and hook the bottom of the spring to the rim, so the filter is in the OxyClean liquid, but not touching the bottom. I leave it there about 30 minutes or more, it comes out as white as it was before using it.Also, before you pour the used coffee grounds out of the brewing chamber, MAKE SURE the spring is hooked to the bottom of the glass tube or it will go into the garbage with the grounds, and MAKE SURE you break up the grounds first with a spoon or bamboo stir-stick, because the vacuum that drew the water out of them left them so dry, they won’t just fall off on their own. DO NOT shake the chamber over your garbage pail, this is strong glass, but you don’t want to take a chance and break it.Sorry for the lengthy review, I just hope this prevents negative reviews due to lack of knowledge on how to use the product.UPDATE: Replacement filters:In the product description for Yama replacement filters (Yama Vacpot Replacement Cloth Vacuum Pot Filters (5)) which appears in the “other customers have looked at…” section for this product, it is stated that these are replacement cloth filters for this coffee maker, and that they are “By Yama” – I don’t know of that means made by Yama, or by Northwest Glass (which makes this coffee maker), but they are definitely not the same.My coffee maker (this product being reviewed here) came in a box that included one filter already mounted on teh metal disk, and one replacement filter. The “for Yama” ones in the product link above are larger, and I believe thicker. I recommend against them, because as soon as I started using one of them, my coffee maker started to stall: When the coffee was returning from the top brewing bowl to the bottom carafe, it would only allow about 2/3 of the coffee to return, then stopped aspiring the coffee down. The vacuum was too weak. I spent some time readjusting my brewing time, the coarseness of the coffee grounds, no go. I then experimented with the same filter with water only, no coffee, it worked perfectly. This is an insignificant factor – what good is a coffee maker that won’t make coffee? The only other significant change was the filter.So today, I experimented with a paper filer: The simple Melitta coffee filter (brown, unbleached), available everywhere. I used just one layer, wrapped it around the metal disk, hooked the disk to the bottom of the glass stem as usual, made sure all the edges were tight below the metal disk. Success. No more stalling. Mine was #4, you can probably get away with using a smaller one. One layer only. One use only.You may want to contact Northwest Glass and ask them, I hear they’re pretty good about providing replacement parts, and filters. The filters may be more expensive, so ask them if they are truly the same as what comes in the box, and not what is described in the “by Yama” link above.I’m not saying the filters (in the product link above) are not made by Yama or by Northwest Glass, I’m saying they are definitely different, based on my factual experience.
You may also like…
Related products
-
Green Mountain Coffee Nantucket Blend Keurig Single-Serve K-Cup Pods, Medium Roast Coffee, 96 Count(Christmas Blend)

-
Glass Coffee Pot Coffee Brewer with Stainless Steel Filter, High Resistance Decanter, 14 Ounce – 400ml with Filter

-
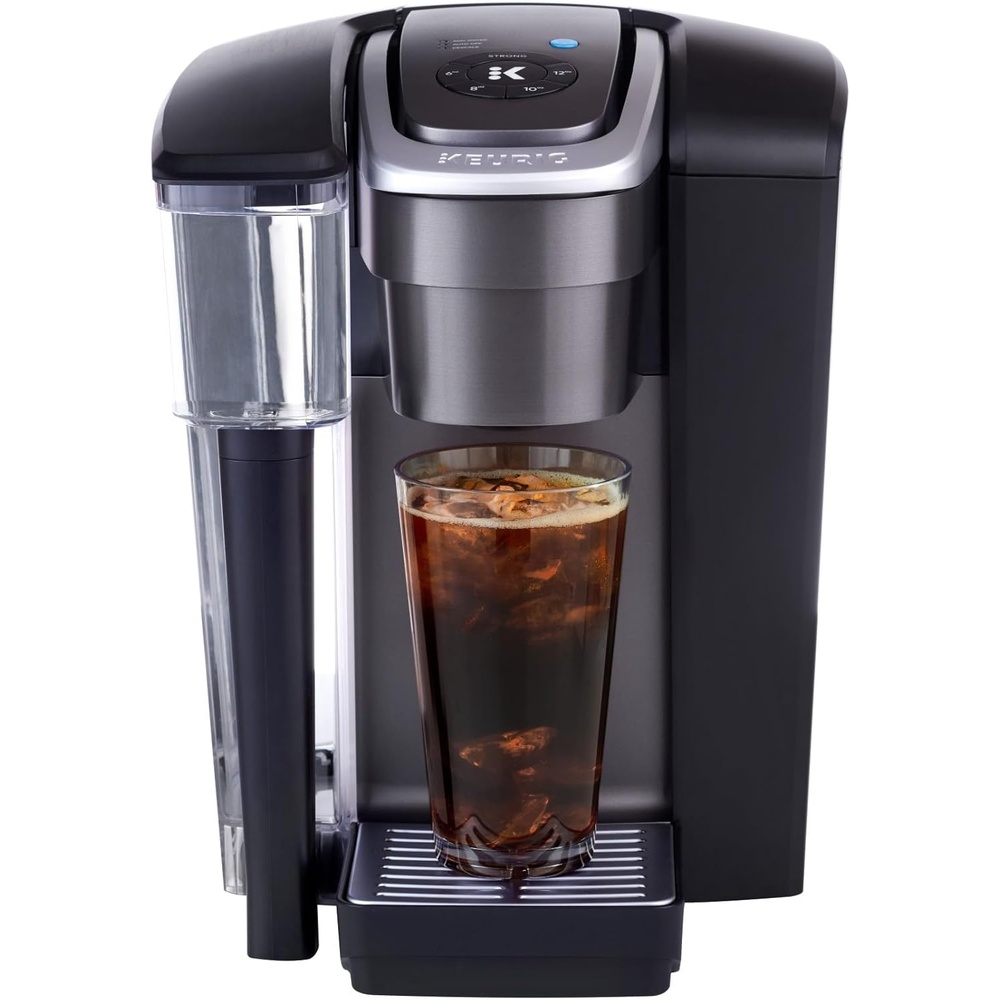
Keurig K-1550 Small Business Single Serve Coffee Maker, 96 oz Water Reservoir, Black
-
Keurig K-2500 Commercial Coffee Maker and Water Reservoir